Friday, August 15, 2014

Classiques Christmas Collection

The NEWEST Dies from Die'sire  ...... oh my word what can I say ....I LOVE THEM  they are so easy to use (as always) ... great designs and so versatile.  

Here are some of my samples that I made for the Create and Craft launch of the new dies  ...

Classiques Christmas Collection STAR OF WONDER
Sentimentals HAPPY HOLIDAYS 

 Classiques Christmas Collection SANTAS SLEIGH
Die'sire FIR TREES
Vintage christmas Collections 6x6 paper pad.


Classiques Christmas Collection ORNATE BAUBLE
Classiques Christmas Collection FILIGREE BAUBLE
Die'sire HOLLY
Vintage Christmas Collection 6x6 paper pad
Sheena Douglass stamps... CHRISTMAS VISITORS
Vintage Christmas CD ROM .. Sentiments
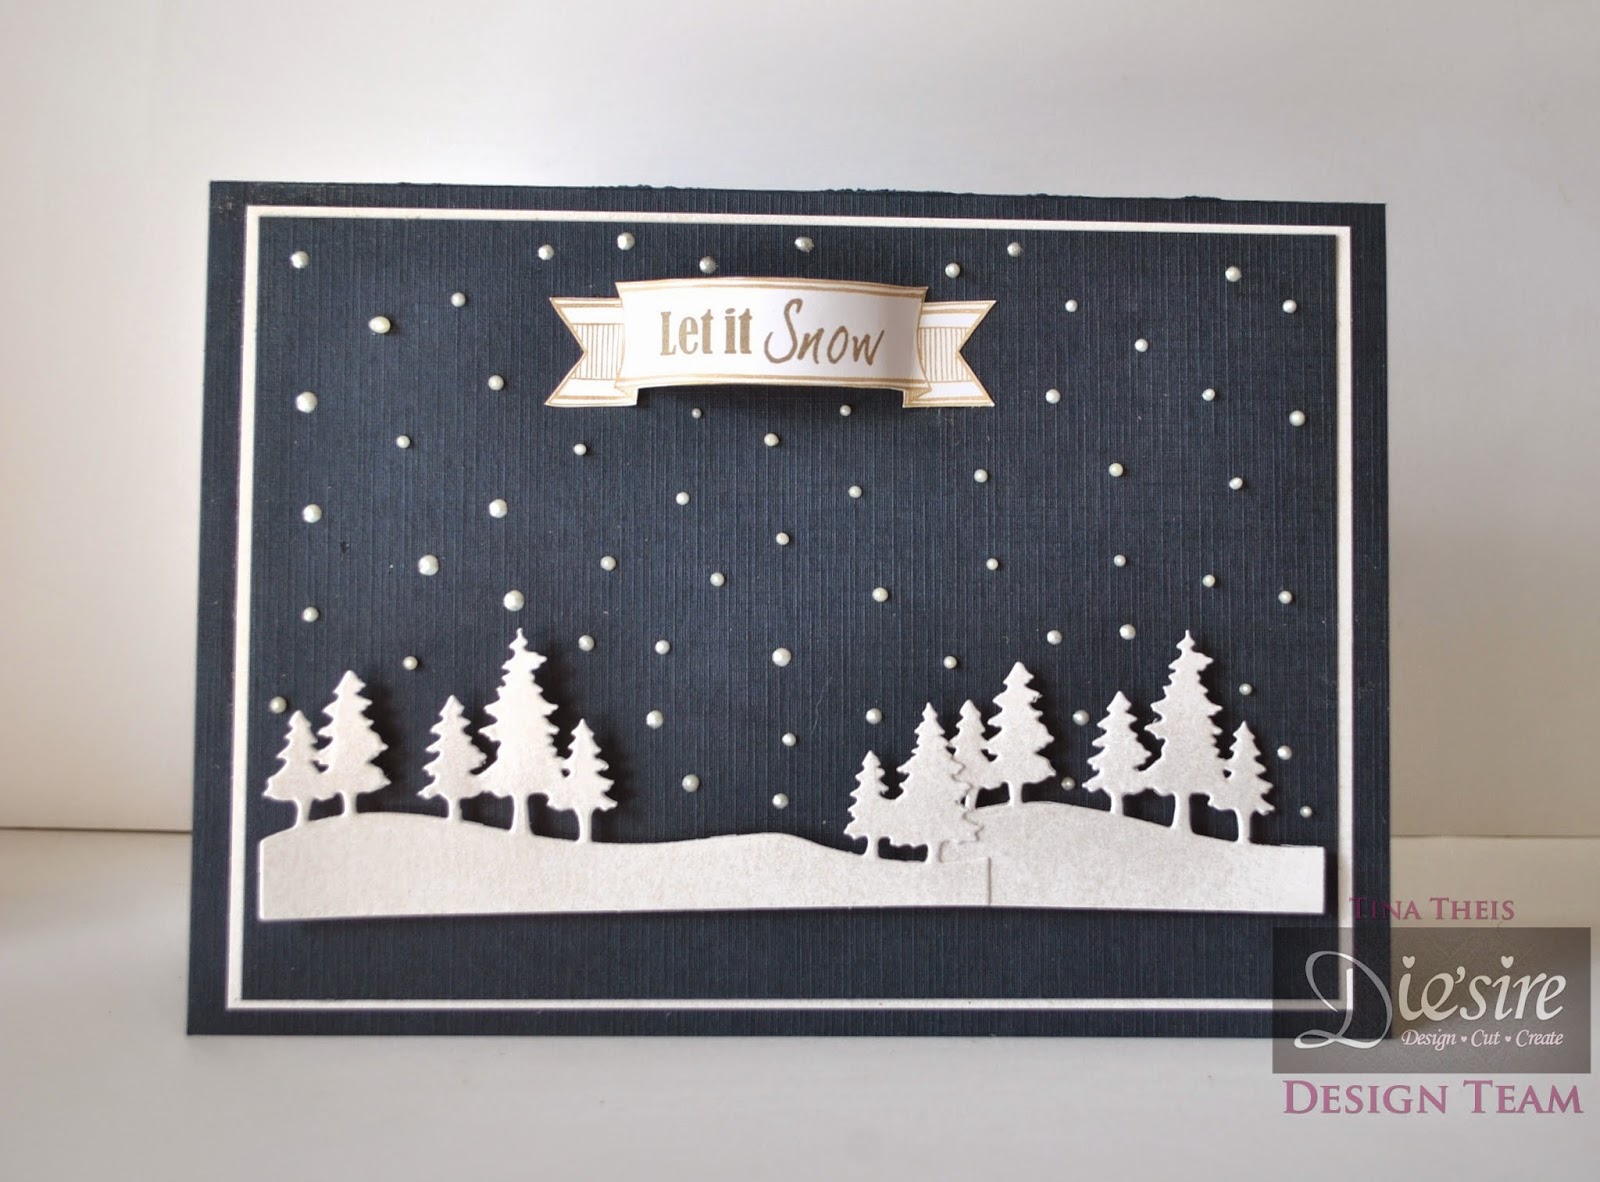
Classiques Christmas Collection SCENIC PINES
Vintage Christmas CD ROM sentiments
Viva Pearl Pen (101 Ice White)


Classiques Christmas Collection SNOWFLAKE BAUBLE
Vintage Embossalicious VINTAGE BELLS


Classiques Christmas Collection THREE WISE MEN
Die'sire IVY
Die'sire HOLLY
Vintage Christmas SENTIMENTS
ACETATE
GREY INK
FLAT BACK PEARLS 
COLLALLS GLUE 

Classiques Christmas Collection SEASONAL TREE 
Vintage Embossalicious VINTAGE SNOW BELLS
Spray and Sparkle SILVER 
Core'dinations card 
Collalls Glue
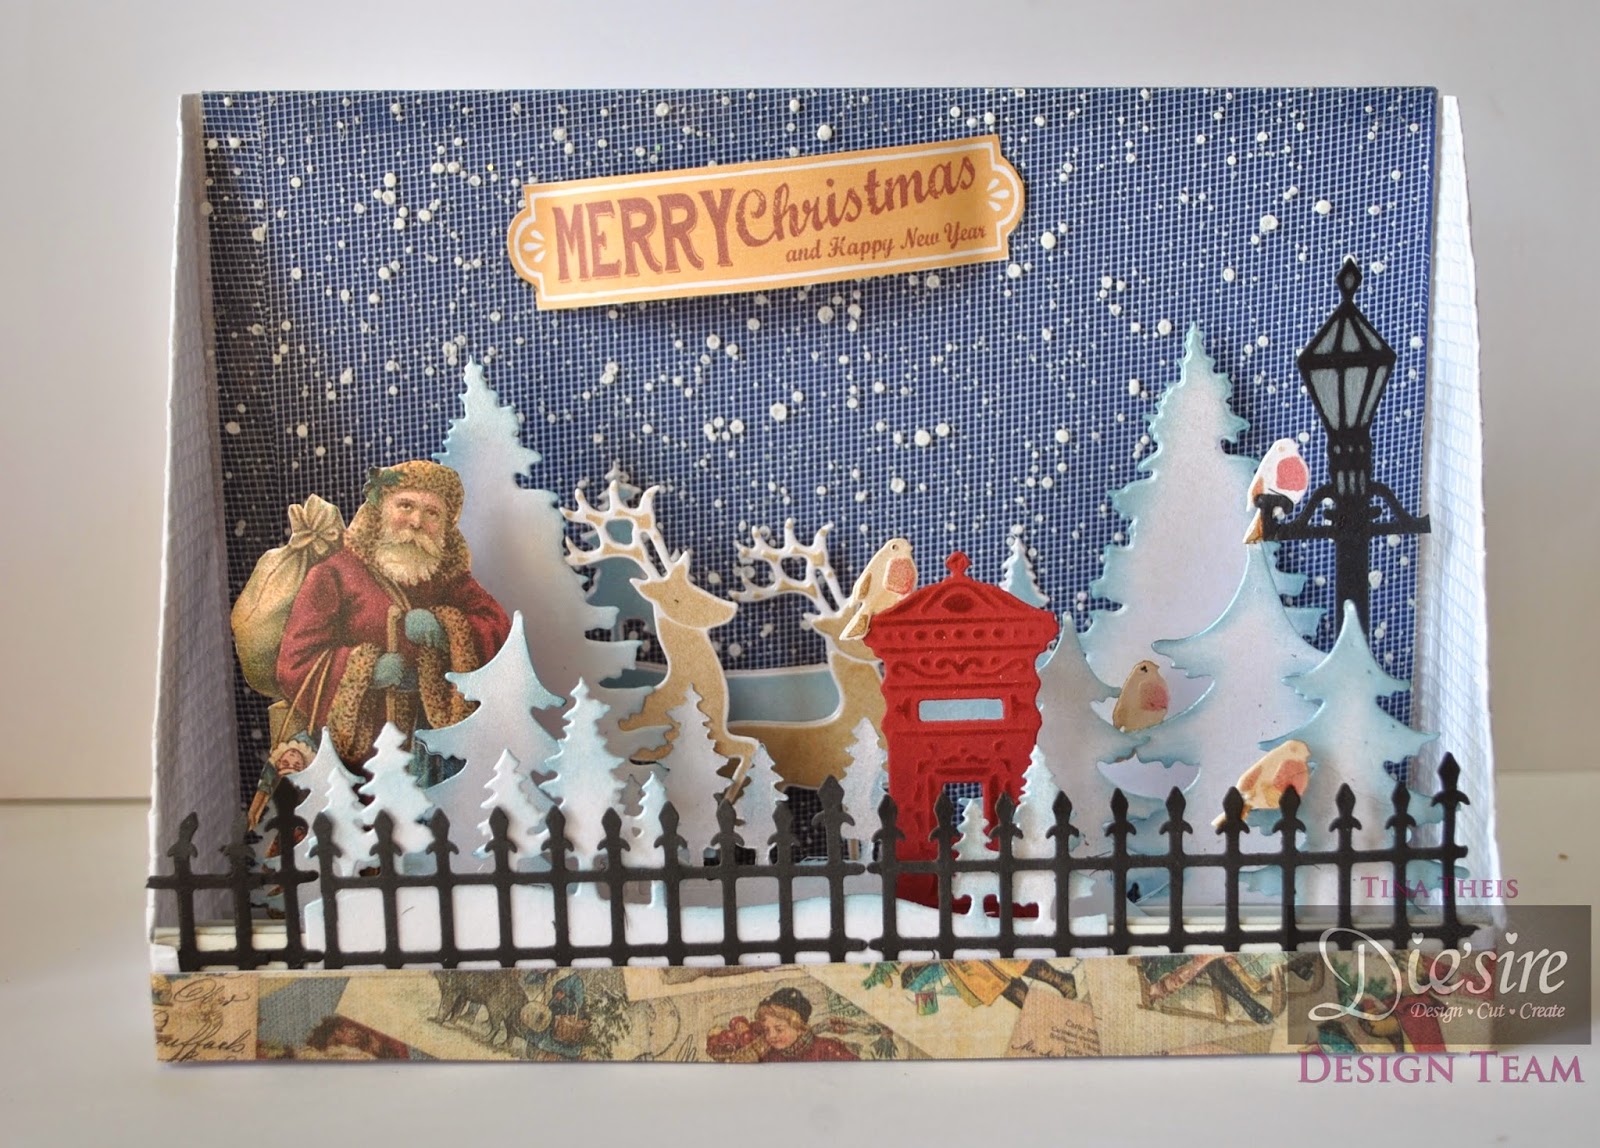


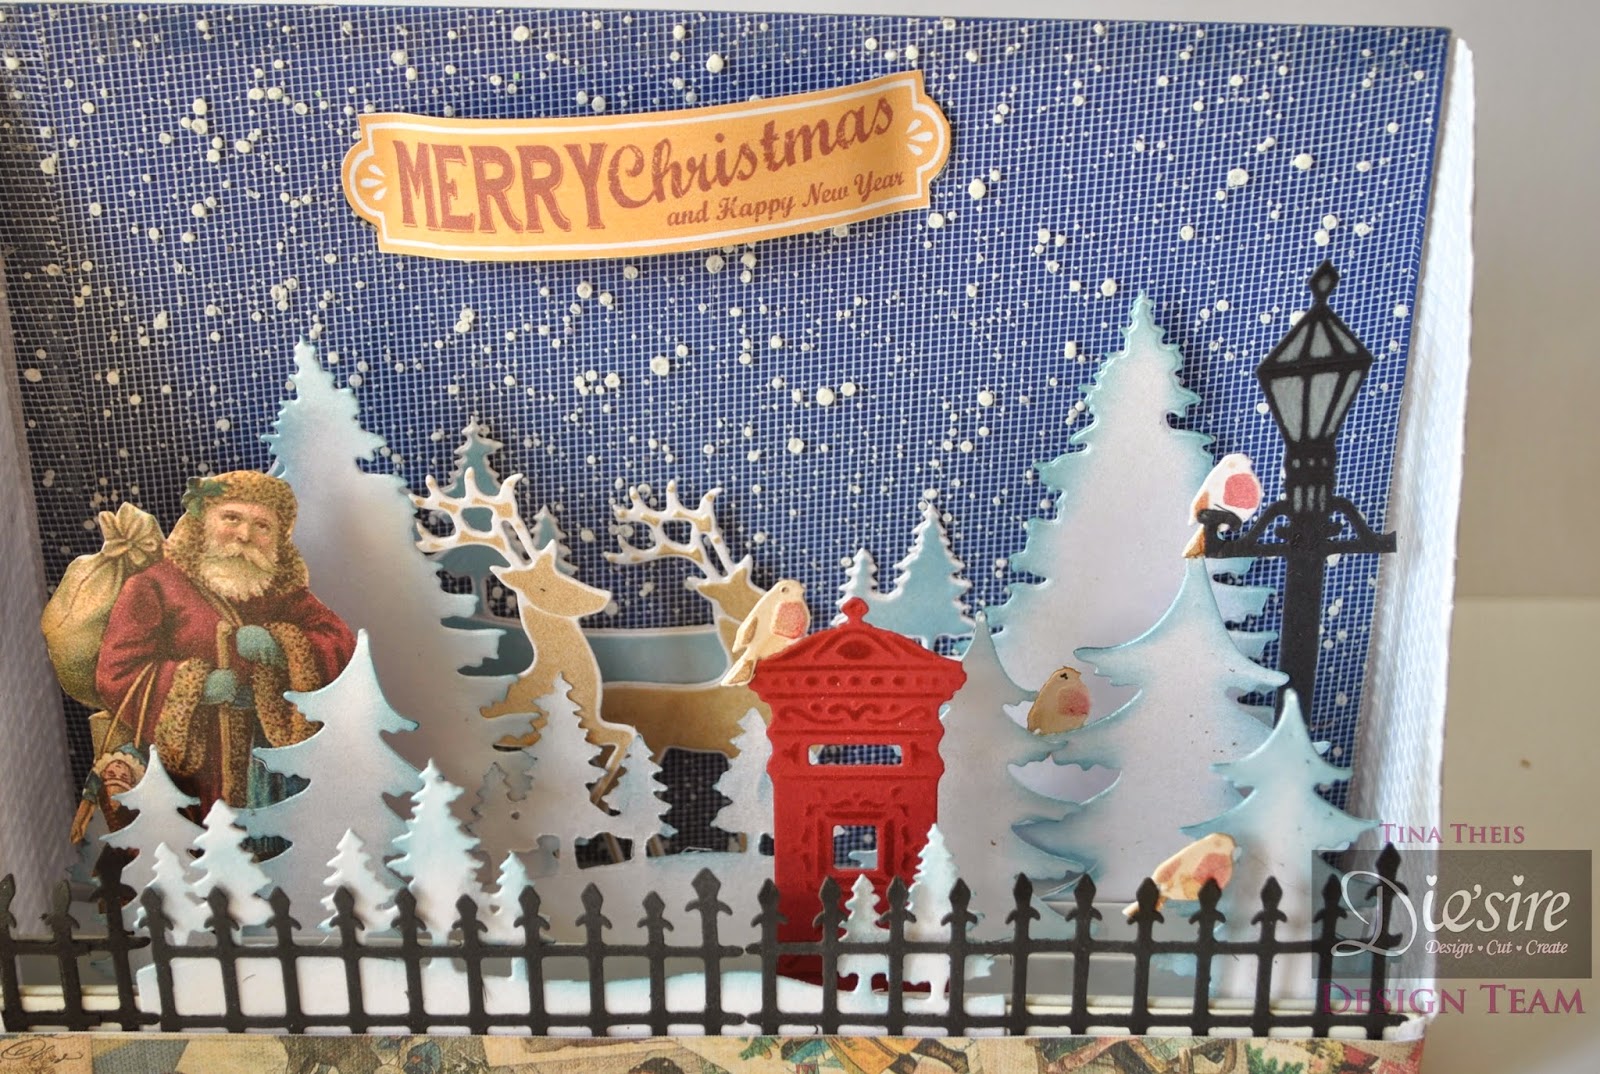
Classiques Christmas Collection SEASONAL TREE
Classiques Christmas Collection SCENIC PINES
Classiques Christmas Collection ELEGANT REINDEER
Classiques Christmas Collection POST BOX & ROBIN
Die'sire LAMPOST AND SIGN
Die'sire WROUGHT IRON
Vintage christmas CD ROM CD ROM


Classiques Christmas Collection - ORNATE BAUBLE, TEARDROP BAUBLE, FILIGREE BAUBLE
Sentimentals VINTAGE CHRISTMAS FRIENDS AND FAMILY
Sheena Douglass Stamps A LITTLE BIT FESTIVE- CHRISTMAS VISITORS
Ranger - GLOSSY ACCENTS
Collalls Glue TACKY AND 3D
Spectrum Noir Pencils
024-027-033-044-046-049-053-054
Blending solution

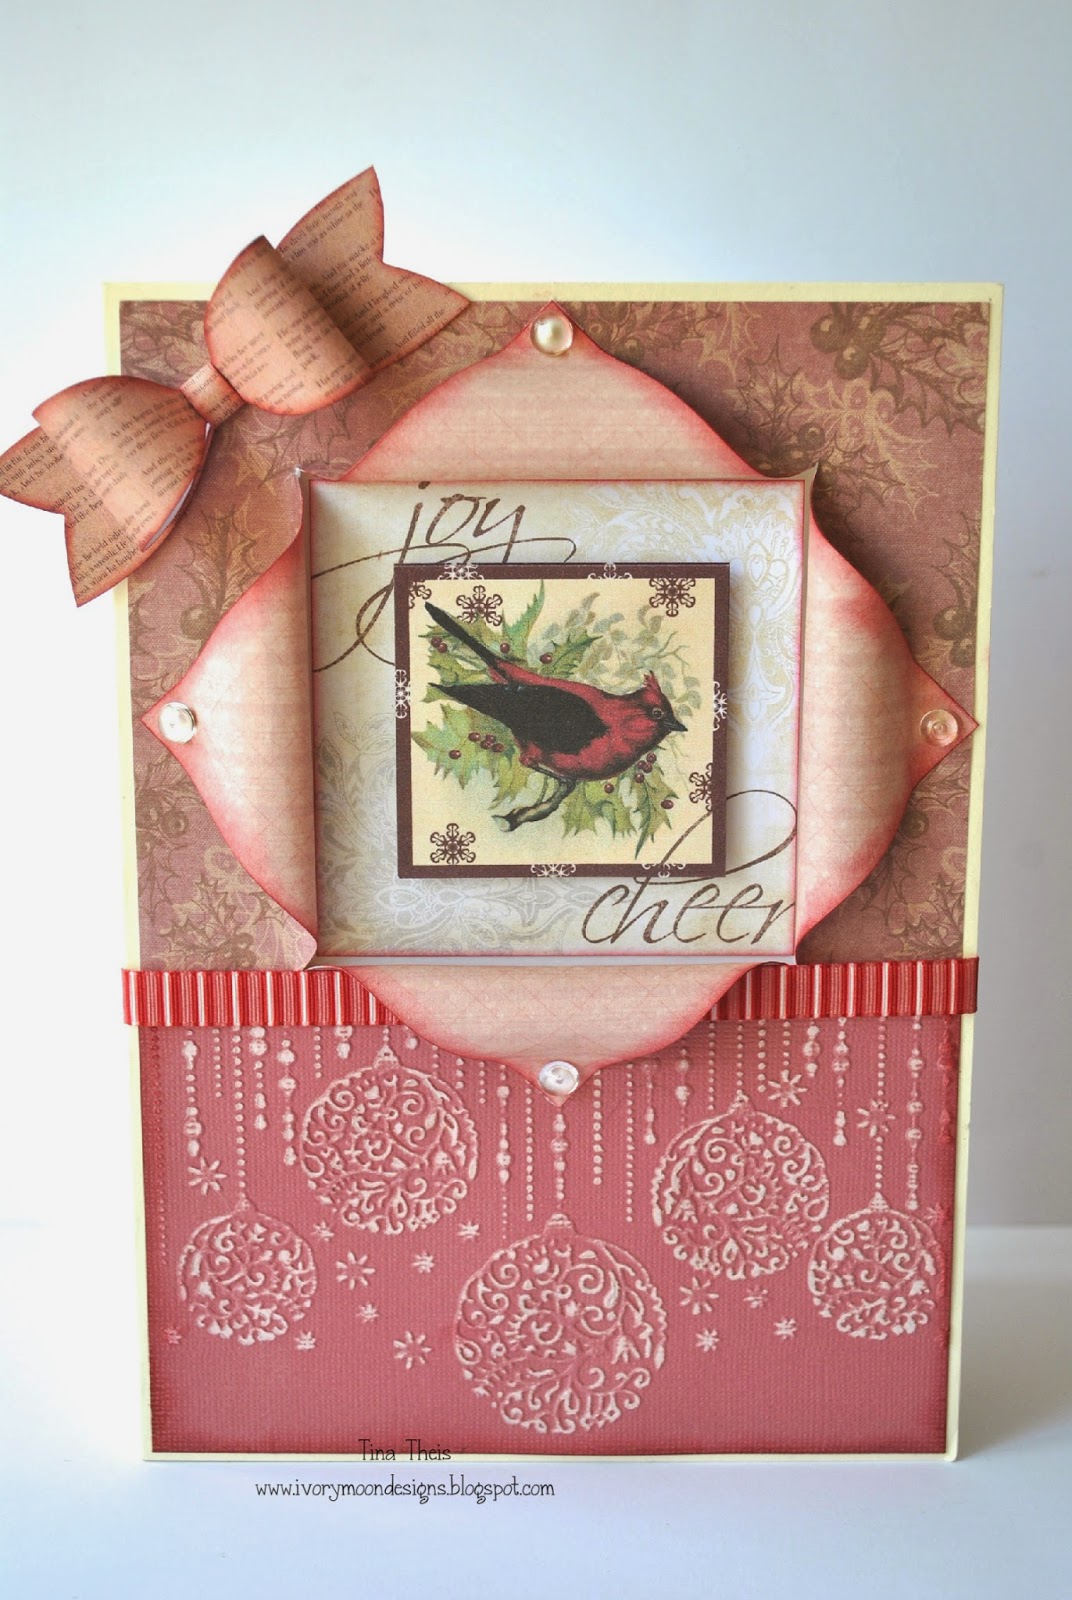
Classiques Christmas Collection
CHRISTMAS CANDLE
Die'sire -CLASSICAL FRAME (SQUARE)
Die'sire CAMEO STAMPING FRAME
Die'sire- HOLLY
Sentimentals- VINTAGE FRIENDS AND FAMILY
Spectrum Noir Pens - GB4, CG4, DG3, DR6


Classiques Christmas Collection JINGLE BELLS
Sheena Douglas- A Little Bit Festive - CHRISTMAS VISITORS
Vintage Christmas -CD ROM
Collalls Glue -3D and Tacky
Glass Gems 


Classiques Christmas Collection-THREE WISE MEN, STAR OF WONDER, NATIVITY 
Die'sire - LEAF SWIRLS
Vintage Christmas CD ROM
Collalls Glue- 3D,ALL PURPOSE
Velum

Many thanks for stopping by .... I would love to know what you think xx

Tina xxx

Thursday, August 14, 2014

Crafters Companion NEW Design Team Makes


Hello again, just recently Crafters Companion had a NEW release of Embossing folders and they are GORGEOUS  Here are some of my Designs for the New Vintage Christmas range 

This Embossalicious folder is called  'Merry Christmas' and is so versatile. 


 This New range also comes with a BRILLIANT CD ROM and I LOVE IT ... defo one I will be using for many years to come
Embossalicious Folder Vintage Bells 6 x 6


Embossalicious Folder  Softly Falling A4

Digi Image and papers from the CD ROM ... coloured using the Spectrum Noir Pens and Pencils


Embossalicious VINTAGE BELLS
Vintage Christmas CD ROM
Vintage Christmas Collection 6x6 PAPER PAD 
Collalls Glue 3D and ALL PURPOSE 


Embossalicious PERFECT POINSETTIA
Create a Card O'CHRISTMAS TREE
Die'sire, Quilling ROSE (large and Small)
Die'sire Quilling STAMEN
Vintage Christmas CD ROM
Spellbinders FERN TRIO
Core'dination CARD
Seed Beads
Collalls Glu 3D and ALL PURPOSE
Red ink, 
Brown ink 
Embossalicious PERFECT POINSETTIA
Die'sire, Quilling ROSE (large and Small)
Die'sire Quilling STAMEN
Die'sire LEAF SWIRL
Die'sire IVY
Vintage Christmas CD ROM
Core'dination CARD
Seed Beads
Collalls Glu 3D and ALL PURPOSE
Red ink
Brown ink
Acetate & 
Ribbon 

Embossalicious VINTAGE DECORATIONS
Vintage Christmas Collection 6x6 Paper Pad
Acetate
Vintage Christmas CD ROM
Glass drops 
Ribbon, Red Ink 

Embossalicious MERRY CHRISTMAS
Embossalicious VINTAGE MUSIC
Vintage Christmas CD ROM
Vintage Christmas Collection 6x6 PAPER PAD 
Die'sire LEAF SWIRL
Brown Ink
Collalls Glue 3D and ALL PURPOSE
Centura Pearl Card
Core'dinations Card

Many thanks for stopping by .... 

Tina xxx

Monday, August 04, 2014

FERNLI DESIGNS BIRTHDAY CARD 


Wow I do have a heck of a lot of blogs to catch up with .... so I am starting with this one ...  It was my partner's birthday on the 23rd July and I made this card for her using FernliDesigns Cogs .....   Hazel is NOT a girly girl and she has always liked other stuff that I have done like this 
I started with stencilling my base card using the brick wall and some spray ink .  I then covered some card with foil tape and ran it through an embossing folder (a Tim Holtz one) and dabbed some alcohol inks onto the foil.   Then using some Core'dinations card I embossed this using the Harlequin embossing folder by Tim Holtz and sanded it back to reveal the pattern better and inked around the edges .

The cogs were SO much fun to alter some of them I used alcohol inks on them then rolled (using a brayer) Glycerin over the top and added embossing powders to it them melted it using my heat gun .


On all of the cogs I used this type of method to coat them with Glycerin then added different colours of embossing powders over the top  .... Then it was just a case of arranging it onto the card in a layout that I liked . 


Many thanks for stopping by  

Tina xxx

Saturday, June 14, 2014

Fernli Designs 2nd June Project
FLIP PHOTO FRAME  


Hello again everyone .... Since finishing my first project for FERNLI DESIGNS I have been very eager to start on the 2nd one .... I also got some WONDERFUL news from Lou,   I have been offered a permeant position on their Design Team ..... EXCITED OR WHAT !!!!!  and of course I said YES .... I would be a fool to say anything else .... any way my 2nd project for them, here it is 
I started off with one of those cheap white plastic £1 frames from Ikea and gave it a gentle sanding and then gave it a coat of Gesso.  I then painted on the Matt Chalk Paint (Cosmic Shimmer ..Creative Expressions) with the Chalkboard colour  (grey) once that had dried I painted on the Crackle Glaze .. Wait for that to dry and then you can apply your top coat of paint ..... When you do apply this top coat make sure you paint a nice thick coat on it and DON"T be tempted to go over it a few times because it ruins the effect so make sure you have enough paint out to cover it quickly as the cracking starts straight away ...
Now on to the picture frames ... the first on one this Heart of Hearts and is £1.45 it is GORGEOUS.  I painted all the frames in the Grey Chalkboard paint . I added some of the COGS (Mixed bag for 50p ... and you get LOADS !!) I used a silver pen on mine. The little bricks you can see are from the Brick Wall and they are the bits that fall out of the cut frame and are £1 .. I painted with gesso first as the wood tends to soak up the paint and the gesso also gives a good surface for the chalk paint to grip to.  I then wrote on them using a Fine Line Drawing Pen.
The silver paws are just charms I had in my stash ..
This frame is the Lace/Scalloped Edged Banner and they are 25p ... the square on this one is one of the Squares (25mm x 25mm ) and are 10p. bellow the scalloped banner is a heart which I have attached using jump rings. I added some more bricks and wrote on them saying You Stole My Heart ... This is one of my favourite photos of my partner Hazel and our dog Roco the day we got him.
This frame is the Old Style Frame SET of 4 £1.45  and a small swirl  and of course a photo of our other gorgeous dog Bess
Again this is the Lace/scallop Edged Banner with a heart hanging from the bottom. On the heart I have used a cog and a small key ( a bag of 6 mixed 3mm small keys ....50p )
and the last frame is another of the scalloped edged banners with a hanging heart and a swirl .

Bellow on the pedestal I glued some florist oasis and put the fence in front of it and stuck in the flowers ... I also used a small lamppost on the frame .... after all you can't have a male dog without a lamppost now can you !!! 

The video of this is now up on youtube .... my channel is Ivory Moon 

Many thanks for stopping buy ... I would love to hear what you think 

Tina xxxx


Monday, June 02, 2014

CLOCK TOWER TUTORIAL 

 If you would like a copy of the template for this clock tower please contact me with your email address and I will send you a copy.


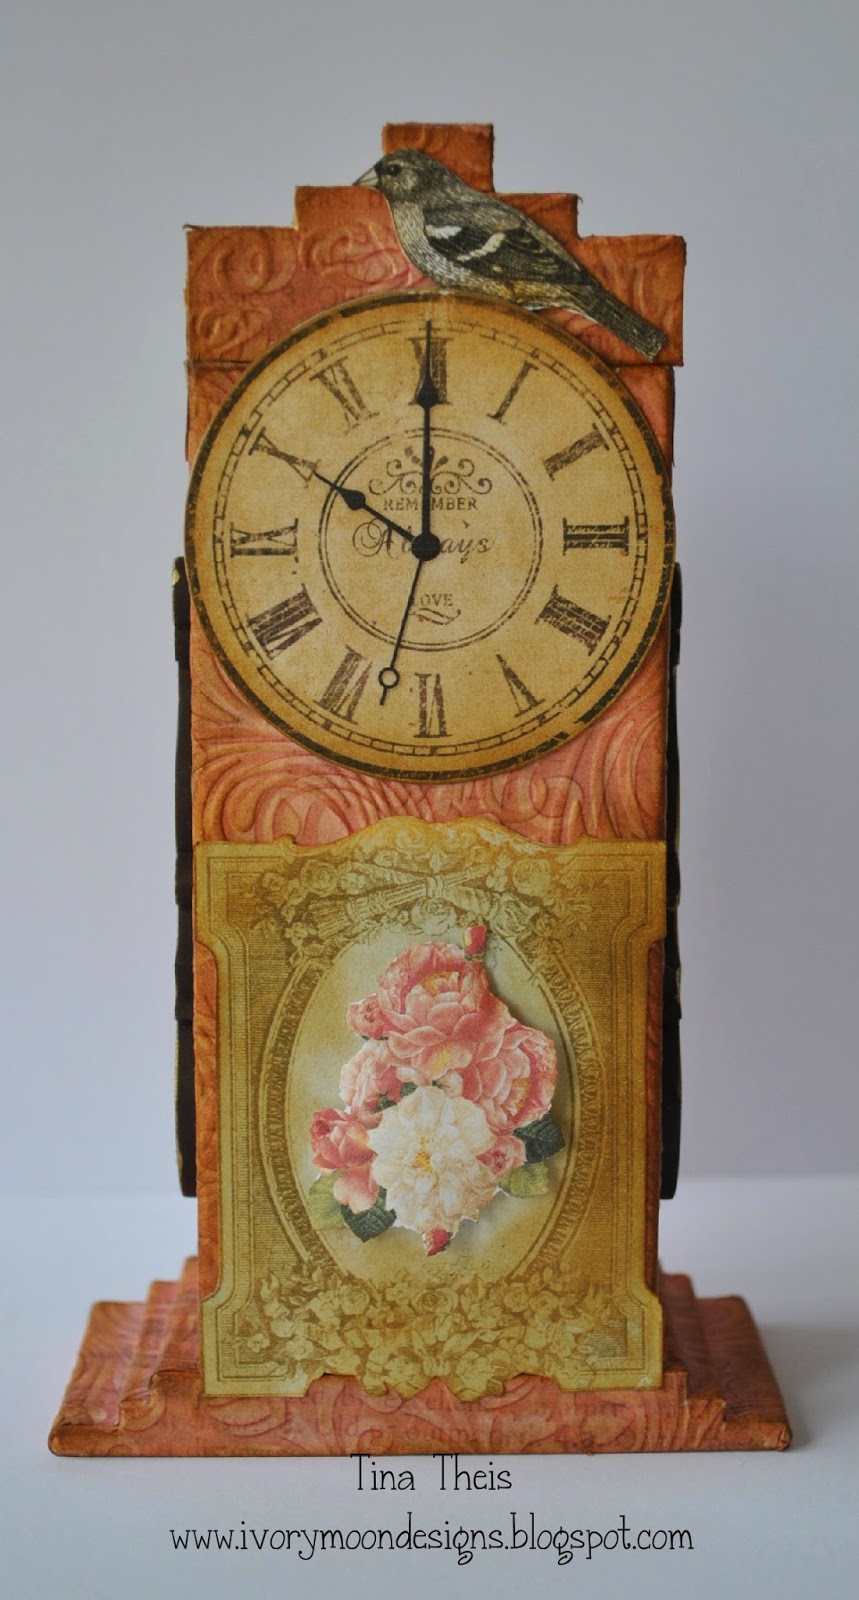
This is the Clock I made for the recent Crafters Companion Vintage Florals CD ROM 
Cut out box from the template and glue together 
I used craft card for my box .... you can give it a coat of gesso first if you prefer to do that before covering with your chosen paper ...


Now cut out the top part of the clock ( I used 2mm thick grey-board for this as it need to be quite thick for it to stand up ) and glue it onto the back of your chosen paper .
Next cut down the side of the topper like so 
and glue down the paper as you go ...( this is the easiest way I found to do it)
Now stick the back of this to the back of your chosen paper and cut around it as close to the edge as you can get ,..... then with a nail file sand down the edges (VERY gently o get a nice close finish..) and ink around the edges (I used Brushed Corduroy by Ranger) 
Next cover your box with your chosen paper 
I used Collalls All Purpose glue for this as I find it does not wrinkle the paper as other glues do, and ink around the edges.
Now cut out 9 pieces of 2mm Grey-board  


Layer 1 - 4cm x 7.5cm (cut 2)
Layer 2 - 4cm x 8.5cm (cut 2)
Layer 3 - 4cm x 9.5 cm (cut 2)

 and glue each doubled layer on  top of each other ....

 Make sure you leave a .5cm gap at each side on each layer to get the step effect.


The easiest way I found to cover the steps was to do the front and the back first ....


Next cut a strip of paper 4cm wide and make sure it is long enough to go all the way around your steps (taking in to account it has to go on each step ) I found around 16cm should cover it 
ink around the edges, now glue the base of your box and place onto the top of your steps making sure you leave a gap on each side 

Glue the bottom edge of your top stepper and hold for a few seconds giving the glue time to set a little .


All that is left now is for you to print off the embellishments, clock face etc to decorate your clock ...


I would love to see yours when you have finished 

Thank you for stopping by 
email ....   ivorymoondesigns@yahoo.co.uk

Tina xxx


Sunday, June 01, 2014

Hello again ...

As you may know I was recently given a guest spot on Fernli Designs Design team for the month of June  ... I will be doing 3 DT makes throughout the month

Here is the first
This is the small Ink Storage unit that Fernli Designs make  
I used Cosmic Shimmer Matt Chalk Paint from creative-expressions.uk
These paints are gorgeous to work with ....


I started off by painting the unit with gesso making sure to leave the little joints bare so they would still fit together ... don't worry if you do go over them with paint ... simply lightly sand them with a fine grade sand paper to remove some of the paint.

Next I painted them with the 'Chalkboard' colour which is a lovely dark grey  ... I left the outside of the unit in the white gesso.   I then put the unit together using 'Art Glitter - Designer Glue' this unit goes together sooooo easy and is so sturdy when the glue has dried ... I then painted the outside  of the unit with the 'Natural Stone' Matt Chalk paint.  Once dry I used a stencil and a small sponge and the "Saxe Blue - Matt Chalk Paint' which to me does not look blue but more green ... either way I love it ... the strange thing about these paints is the dark colours dry lighter and the lighter colours dry darker ..

My next step was to choose and paint the scrolls from Fernli Designs I use the 'Saxe Blue' on these too ... once dry I then glued them onto the top of the unit.  On the back piece I added a smaller scroll onto the top of the bigger one to give a more uniformed look
Before putting the side scrolls on I glued down a stripy ribbon from my stash to add some more interest to the outside, I then coated the whole unit (on the outside) with Shimmer Pearl Glaze (also by Cosmic Shimmer)  ... I am really happy with how this has turned out ... I can HIGHLY recommend  all the products from Fernli Designs amazing value, high quality products and fantastic customer service.

Many thanks for stopping by .

I have a video on Youtube showing this project 

Tina xxx

Blog Archive